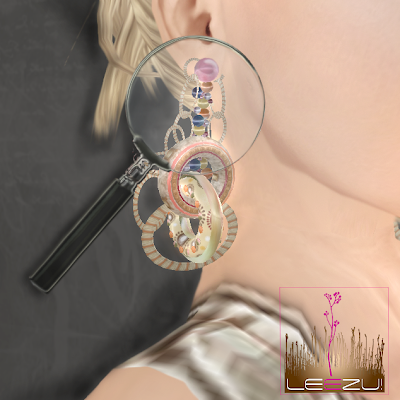
This tutorial is good for making tiny jewellery or to add some tiny sphere accessories to it. I will try to explain clearly step by step in the hope that this tutorial will also help people that are not yet very familiar with the building option in Second Life. It is, of course also for all the people that struggle with the question: how on earth can I make a sphere smaller without using sculpties?
For those who are not yet familiar with building in Second Life, my recommendation is to visit inworld schools and classes that are teaching from the very basics of building to more complicated buildings. When I started in Second Life I visited a lot of building classes and they helped me not only learn how to build but they also gave me a deeper look into tricks and tips. You can find building classes via places and education search inworld and you can visit the Ivory Tower Library of Primitives.
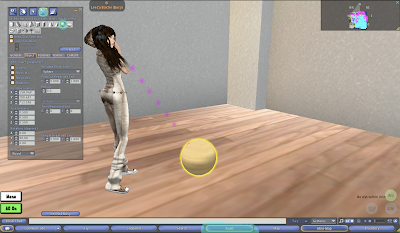
First of all rez a sphere....(click the Building button, choose sphere and click in front of you on the floor)...
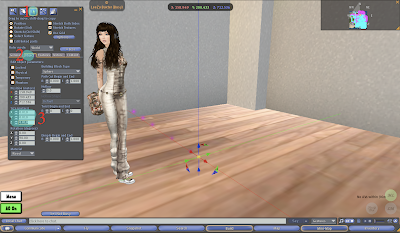
...then click in the building window the square building button (1) next to the square rez button to get the position arrows, go to the Object tab (2) in the center of the building window and set the size (3) of the sphere to
x = 0.010
y = 0.010
z = 0.010
As you will see you cant go lower than this size. For example you can‘t add 0.005 here. It will always change back to 0.010 lowest size.
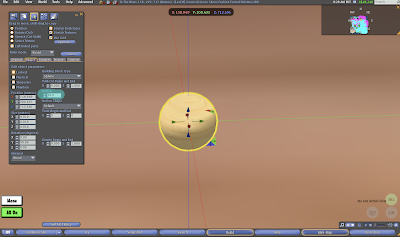
Here is your sphere now zoomed. What you should do now is to set Hollow to 30.0
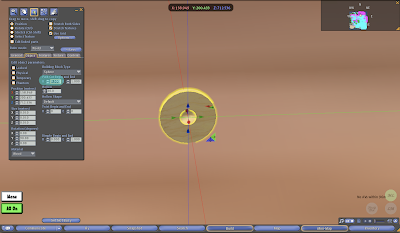
And now cut out half of the sphere by adding the number 0.500 in the „Patch Cut Begin and End“ Box B. It is anyway in which box (B or E) you paste the number, or which site you cut because this cut is just temporary, being able to work on the inside of the sphere, and we will close it again in the end.
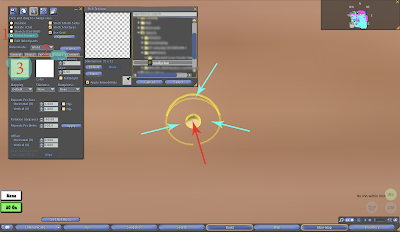
It is important now to click the radio button „Select Texture“ (1) and click on the sphere parts where i drew the turquoise arrows and add a transparent texture to it by clicking the Texture Tab (2) and then the Texture box (3). The transparent texture you can get here:

Just click into the center of the empty space above and save the graphic onto your harddrive for uploading later. (lol...i know that looks wierd now)
So in the end you see only the plain SL texture in the middle part of the sphere. Now click on this middle part (red arrow) and attach a texture as described above from your choice.
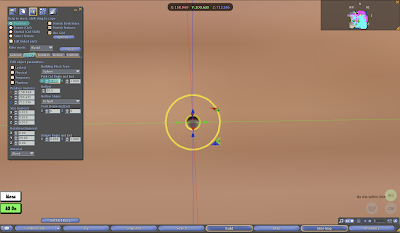
I took a metallic texture and added some shininess to it (which you can adjust also in the Texture tab). Afterwards go back to the Position arrows and the Objects tab and close the cut by setting B to 0.000 (E would be 1.000) again in the „Patch Cut Begin and End“ box. Then close the Bulding Menu.
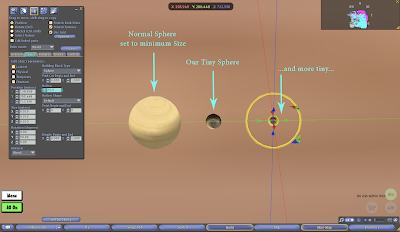
And that‘s it! :D
You can make the sphere even more tiny by adjusting the number in the „Hollow“ box. As you can see, the last sphere is hollowed to 20.0. You can play around with this number until the size fits to your needs.
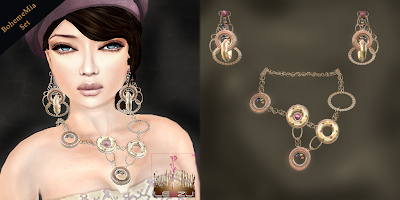
And here you have the final result. Tiny spheres connected to make a complete set.
For the next tutorial I received a request to show how to adjust two textures with ornaments on it on upper and lower body, to have a matching connection between upper body part clothing and down part clothing. However, please don‘t hesitate to comment on what you would like to be covered, so that I have some kind of exchange and direction and if this tutorial was of some kind of help. Thank you!
Love and Respect,
LeeZu

Thank you, Leezu, for sharing your talents!! You do a fantastic job on the clothes!
ReplyDeletebeautifully presented and so clear!
ReplyDeleteThanks!
Great presentation! Thanks Leezu!
ReplyDeleteHi LeeZu, will you be creating more tutorials.
ReplyDeleteThese are fantastic.
Yes Modesta! Sorry for the late reply. Actually i am working atm on the third tutorial: how to adjust textures with ornaments for system clothes top and pants part. That should be finished latest in one week:)
ReplyDelete